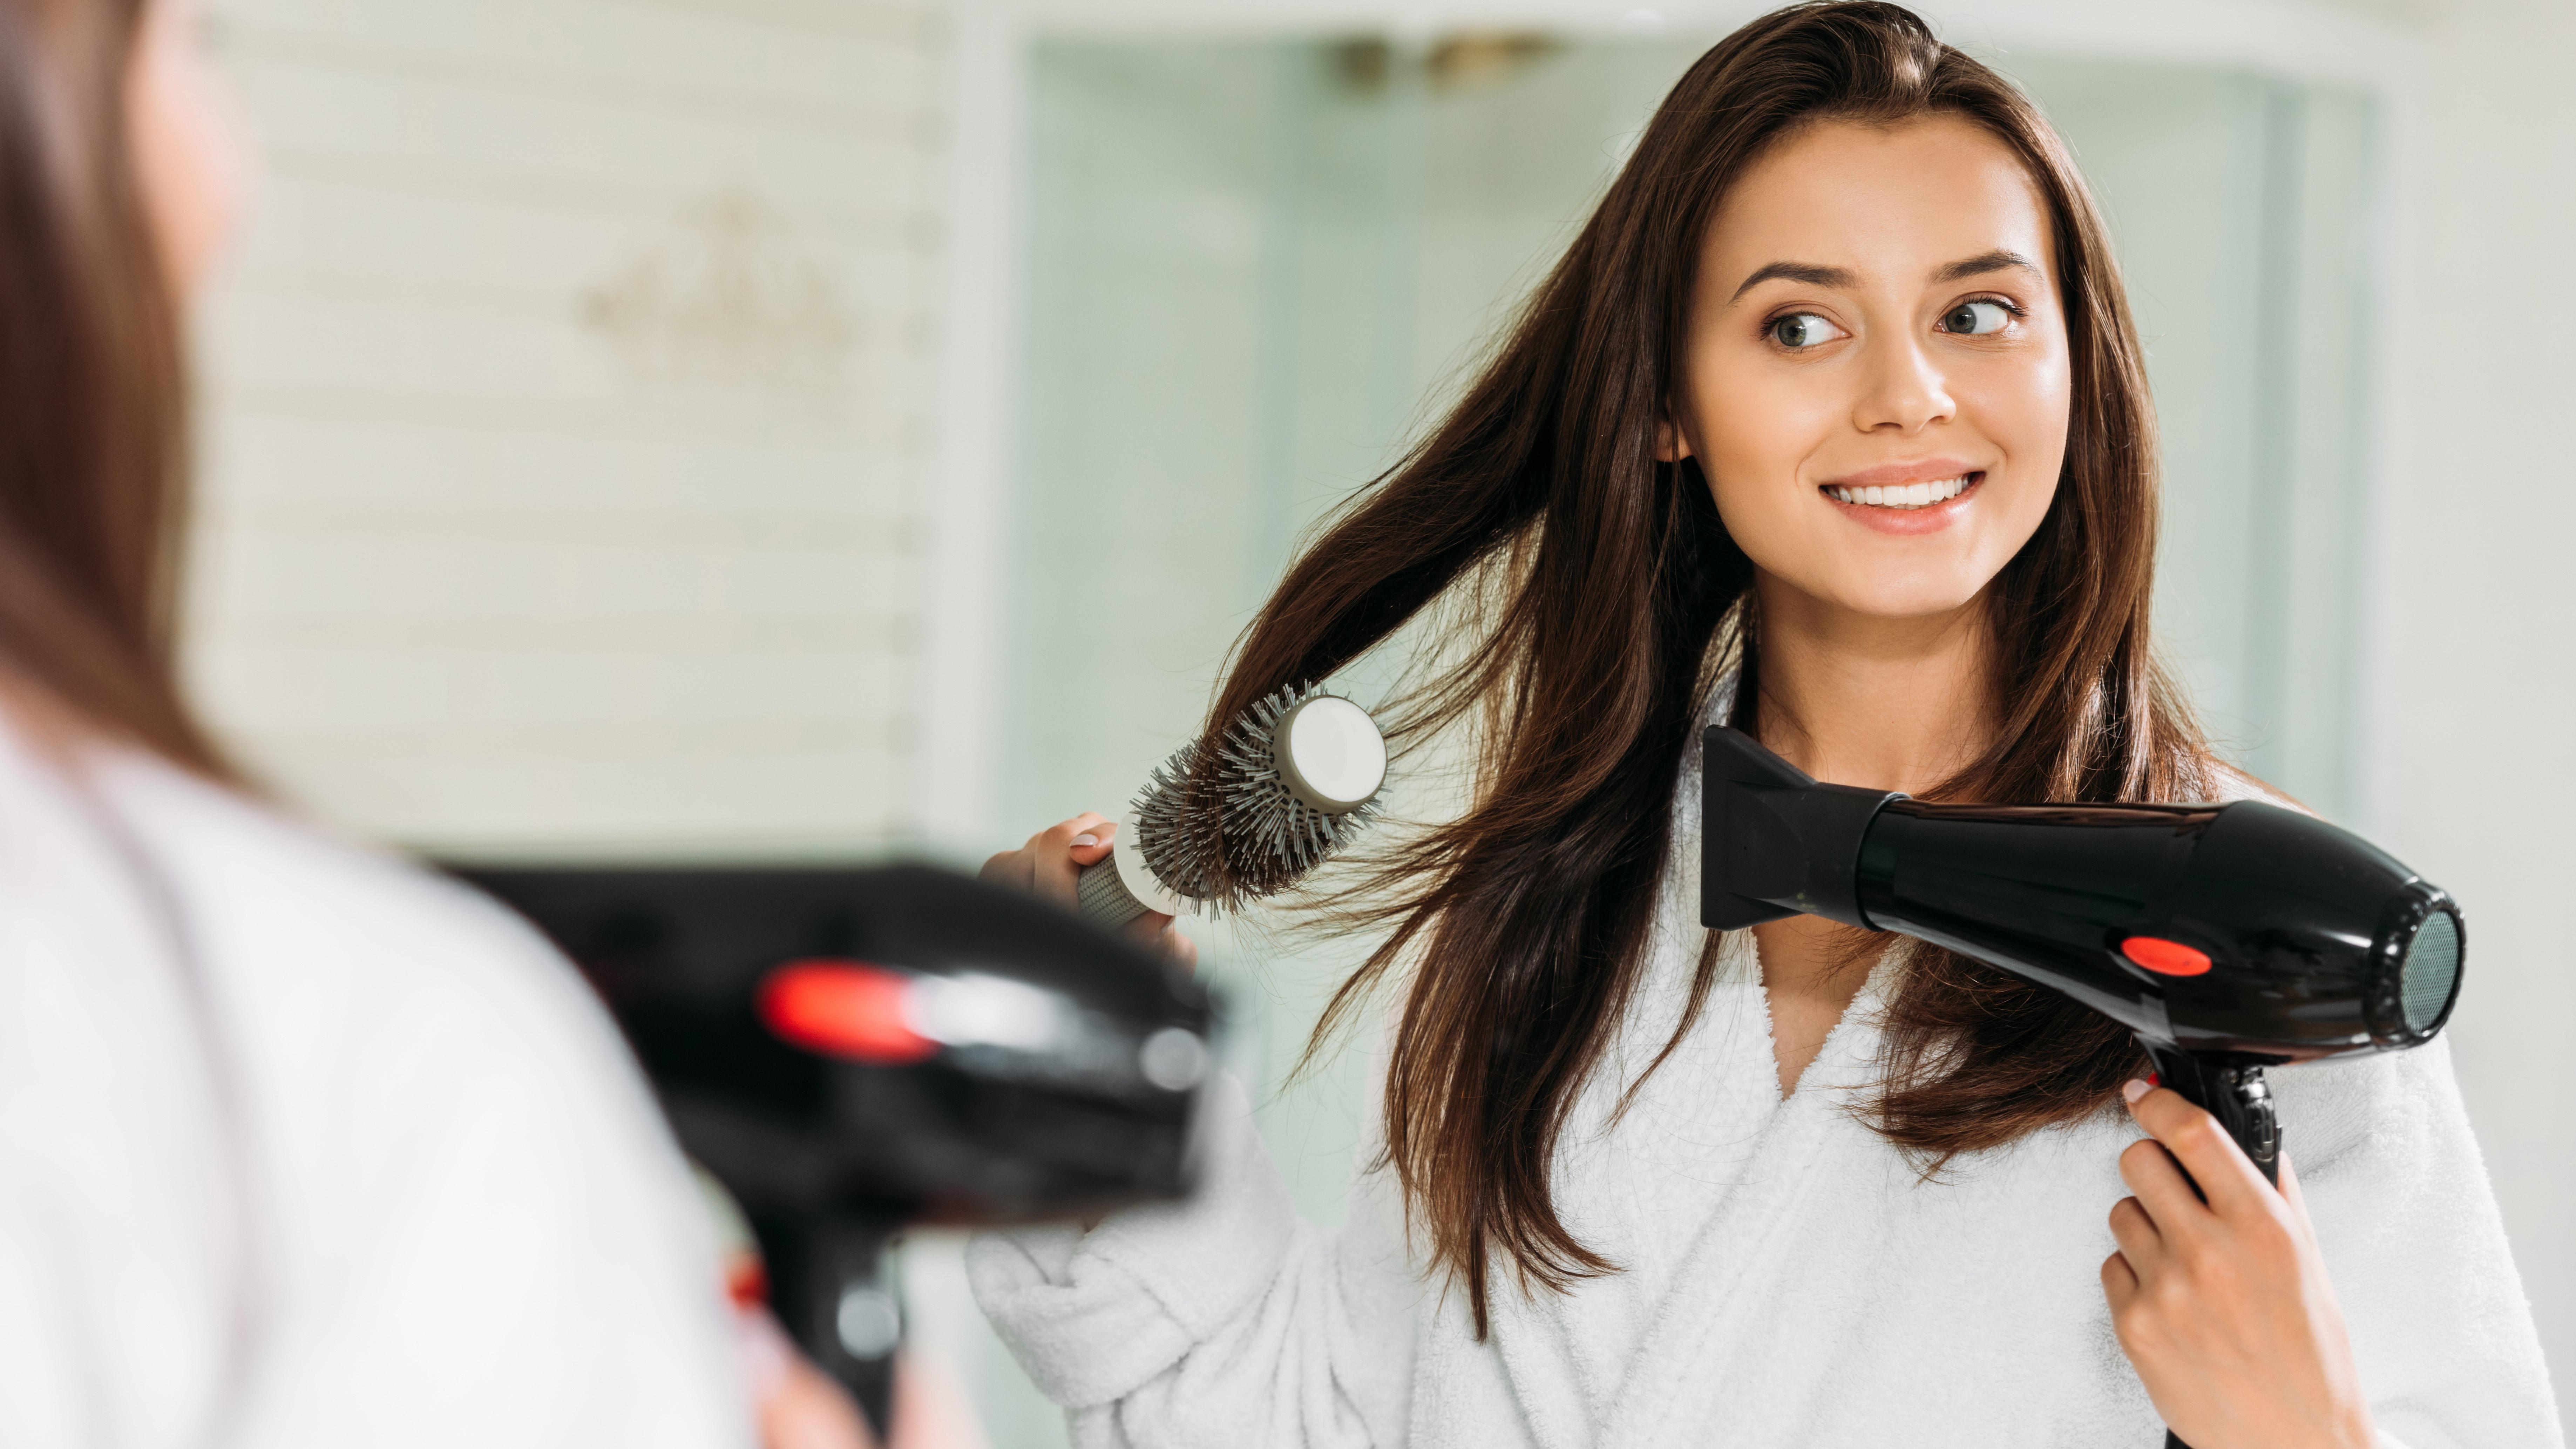
Most people, and especially those of us with longer styles, will have blow dried our hair at some point. It should be a simple task – blast...
Most people, and especially those of us with longer styles, will have blow dried our hair at some point. It should be a simple task – blast hot air at your hair until it’s dry – but the reality is more complicated and fiddly than it should be.
Having one of the best hair dryers is all well and good, but knowing how to achieve the kinds of blow drys and finishes we only get following a trip to the hairdresser, means you’ll really be able to create that ‘just stepped out of a salon’ feeling.
Technically anytime you use a hair dryer to dry your hair, it’s referred to as blow drying, but there are a number of distinctions. If you’re not trying to achieve a certain style, it’s called rough blow drying. This involves simply blasting your hair all over, almost at random, using your fingers or a regular brush to get heat to the roots.
A bouncy, or classic, blow dry smooths the hair while giving it volume and bounce. A straight blow-dry is typically, but not always, done using a flat paddle brush. Then there are beachy, and Hollywood blow drys in which you use a round barrel brush in place of tongs to achieve more movement and curls. The majority of these require a bit of patience and a fair bit of skill, but they’re all perfectly within reach.
Best hair dryer deals
How to blow dry your hair
The approach you take to blow drying your hair will depend on the style you’re after, and your hair type but it will start in the same way – prep. And that starts with your shampoo.
“Always look for a cleanser that is detergent-free; detergent is damaging, it strips, irritates and messes with the scalp’s natural ecosystem,” Jennifer Covington-Bowers, stylist for hair care brand Hairstory, told TechRadar. Detergent-free products not only clean the hair, “they are fantastic at moisturising and detangling the hair as well, especially for those of us with curls.”
“A leave-in conditioner is also a must” Covington-Bowers continues, applied before blow drying your hair, and “avoid any type of oil until after blow drying. This is key if you have curly or afro hair as both are lacking in hydration.
Once your hair is washed and conditioned, and you’re ready to blow-dry, here’s what you’ll need:
- Cotton t-shirt (or microfiber towel)
- Heat protection spray
- Hair dryer
- Sectioning clips
- Concentrator nozzle/diffuser
- Brush
1. Natural dry
Leave the hair to dry naturally for about five to 10 minutes until it's damp to the touch but not wet. This reduces the amount of heat needed to take it from wet to dry, and should reduce the amount of damage using a hair dryer can cause.
Keratin, the natural protein found in hair that keeps it healthy, can start to get damaged at just 320 degrees F / 160 degrees C. When keratin is damaged, it not only causes the hair to break more easily, but it makes it harder to style. This usually causes you to apply more heat in order to achieve the style you’re after, with a flat iron or curling tong, which in turn damages the keratin more.
If you can’t wait for it to dry in the air naturally, you can use fabric to absorb as much of the excess water as possible. But while you’ll probably automatically reach for a towel, grabbing a cotton t-shirt is better for your hair. Towels absorb every scrap of moisture from hair, creating frizz, whereas a cotton t-shirt will ensure just the surplus water is removed.
Don’t be tempted to rub the hair vigorously in the towel as this can cause damage. Instead, gently squeeze sections of hair in the t-shirt, until it's damp.
Covington-Bowers also said a microfiber towel or turban will work just as well as a t-shirt.
2. Apply heat protection
As we’ve already mentioned, applying any heat to your hair can cause damage. However, if prepped and managed correctly – through the use of heat defense products – hair damage can be minimal.
Heat defense products, whether it’s a spray, gel, serum, or cream, work by creating a barrier, which prevents the cuticle from being exposed to extreme heat. It doesn’t block all heat entirely, but it means your hair dries more gently, albeit usually over a longer time period. It’s the equivalent of turning the heat on your hair dryer down to its lower setting – it will take longer, but the heat damage is reduced. Many also place a layer of silicone or similar onto the hair to create shine.
You can apply heat defense all over your head, and then apply it to individual sections. This is the recommended approach, or you can just apply it to the individual sections as you dry them.

3. Set the temperature and speed
Now set your hairdryer to the required heat and speed settings. This will largely depend on your hair type and the type of blow dry you’re after.
If you have thick hair, you can get away with having the heat and temperature set at their highest level. As the hair dries, you can switch it down to a lower temperature or speed if you want to minimize damage.
If you have fine hair, the strands are naturally weaker and more prone to breakage, so don’t whack both up to maximum. All the experts we spoke to recommend blasting it on the fastest speed but a mid to low heat setting. This also applies to damaged, dry hair or hair that has been colored or processed
“Blow dry temperature settings should be set based on your particular hair texture and density; too hot will cause unnecessary frizz and too cold may not achieve the smooth look you are going for,” continues Covington-Bowers.
For smooth and bouncy blow drys, it’s recommended that you use a concentrator nozzle. This is optional but it brings with it a host of benefits. It saves time because it concentrates the air towards the single section of hair you’re drying. This, in turn, helps reduce damage because you’re blasting the hair with heat for less time. It also gives you much more control over your styling.
If you have curly or afro hair and you’re looking to dry it so your curls remain intact, replace the concentrator nozzle with a diffuser. As the name suggests, this diffuses the heat and makes it easier to dry more curls in less time.
4. Section the hair
Once set, part your hair into at least four sections – two lower sections, and two upper sections.
“I like to take a large tooth comb and section out the hair and then clip hair into manageable sections. This helps keep control over the hair making it easier to handle especially when doing your own blow dry,” says Covington-Bowers.
Although you might think that sectioning your hair will mean the blow dry takes longer, it does the opposite because it takes the individual sections less time to dry compared to large chunks. It also gives you more control, and means the style is more likely to last. It also allows you to have your dryer on a lower heat setting and further minimizes damage while adding shine and smoothness.
5. Dry the roots, then the ends
Begin by lifting the hair at the roots and blowing hot air up and through the hair, towards the ceiling. This adds volume, and makes sure the roots are dry without having to blast the delicate skin on your scalp with hot air. Your scalp is ultimately what controls how fast and healthily your hair grows so it’s worth protecting it.
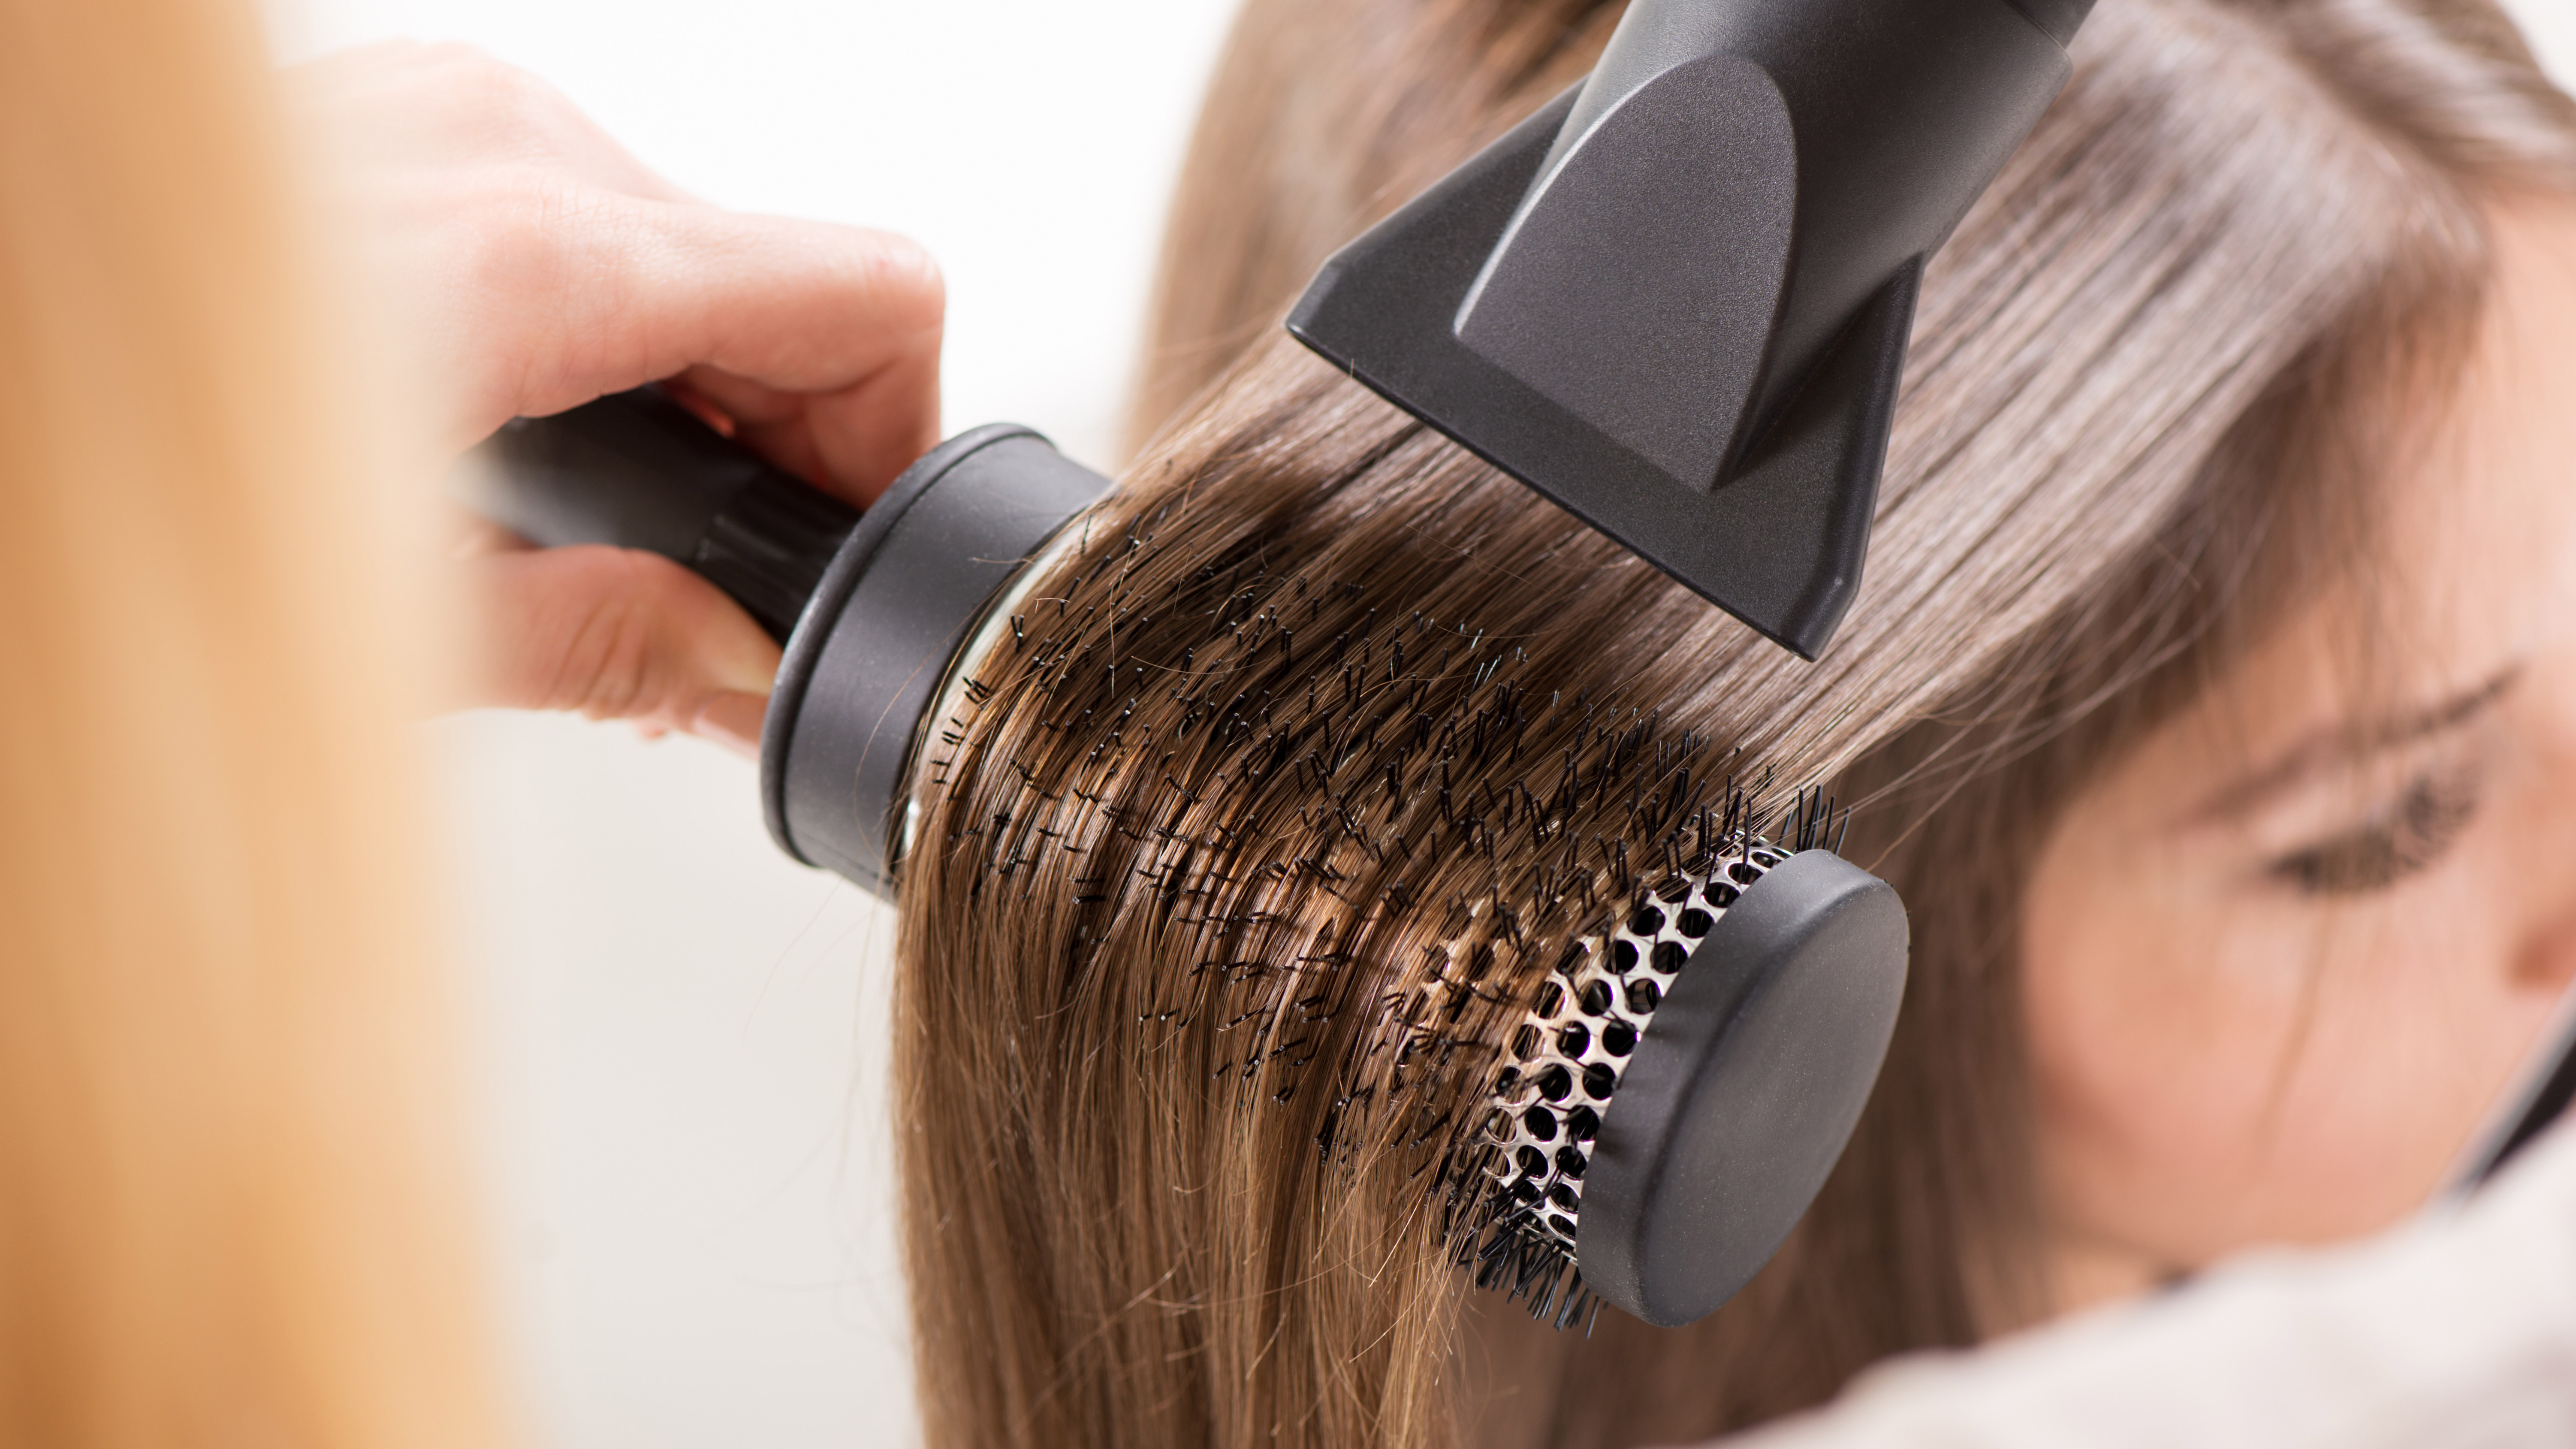
Next, take your brush – a paddle brush works well for smooth, straight styles while a round, vented barrel brush is best for bounce and curls – and place it beneath your hair, just below your roots.
This time with your hair dryer pointing down, place the dryer above the brush – about six inches away from the hair – and move both down towards the end of the hair. To save time, you can move the dryer back and forth up the taut section of hair but this can cause cuticles to rise and reduce the overall level of shine so what you make up for in time you lose in finish.
Repeat this step in single, downward motions until the section is completely dry. If it’s not fully dry, it can cause frizz and mean the style falls flat throughout the day.
If you’re using a barrel brush, you can wrap the hair loosely around the brush when it reaches the bottom of the section before rolling it back up towards the roots and repeat. It’s also worth keeping it wrapped around the barrel on the last pass until the hair is cool. This will help the final style to set. Alternatively “hit the curl with cool air via your hairdryer’s Cool Shot button to set in the style,” added Covington-Bowers.
If you want to add more volume, turn your head upside down and blast the underside of the hair with the dryer before brushing it through with your fingers.
Apply a small amount of serum or spray hairspray onto your hands and run it over the ends and you’re done. One small tip that we swear by – buy a clear brow gel and use the small brush to tame any flyaway hairs around the front of your hair.

Choosing the best hairbrush for your needs
Choosing the best hairbrush for blow drying your hair, again, comes down to your hair type and the style you’re after.
Paddle brushes, as their name suggests, are large and flat. These allow you to brush and dry large sections of hair at any one time and keep the overall finish smooth.
Round brushes come with barrels of various sizes and the larger the barrel, the bigger the bounce and curl. Within this category are vented and non-vented brushes made of materials including ceramic, wood, and plastic.
Vented brushes help the air flow through the hair and can speed up the process. Non-vented brushes offer more control and concentrate the heat more effectively. Meanwhile, ceramic barrels – or any metal for that matter – stores heat as you style. This is great if you’re looking to add bounce or curls as it helps set the shape. However, if your hair is fine, colored or processed, you could be exposing it to more heat damage.
For curly and Afro hair, opt for wide-tooth combs instead of brushes with tightly packed bristles. This prevents the shape of the curl being knocked out, and helps the hot air get through the layers of curls.
from TechRadar - All the latest technology news https://ift.tt/37r4o4s
via IFTTT


COMMENTS